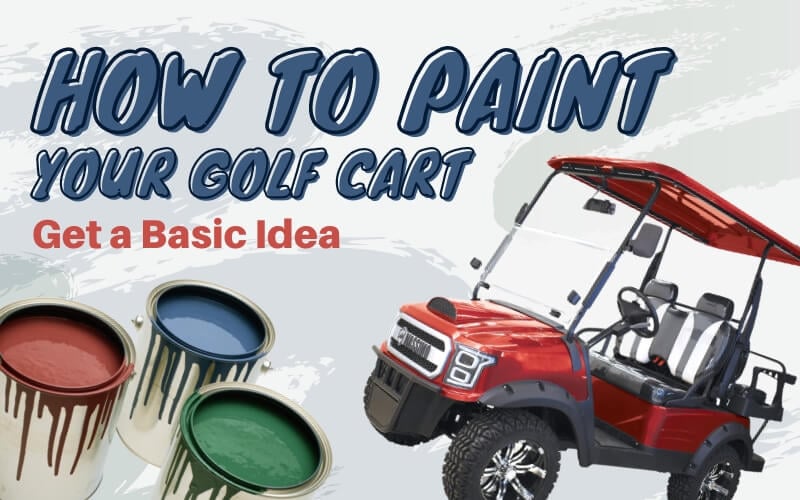
Guides How to Paint a Golf Cart: A Step-by-Step Guide for Stunning Results ByLee M July 2, 2023January 30, 2026 Spread the loveSummaryArticle NameHow to Paint a Golf Cart: A Step-by-Step Guide for Stunning ResultsDescriptionThis article describes How to Paint a Golf Cart: A Step-by-Step Guide for Stunning ResultsAuthor Lee M Publisher Name Fairway Findings Publisher Logo
Guides Golf Club Buying Guide: How Much to Spend for the Perfect Set [2024] ByLee M March 1, 2024 Spread the loveSpread the loveHey there, budding golfer! Are you scratching your head, trying to figure out how much you…
Guides A Golfer’s Guide: How to Clean Golf Bags Like a Pro ByLee M July 6, 2023February 22, 2024 Spread the loveSpread the love Key Takeaway: Cleaning your golf bag regularly is important to maintain its condition and functionality….
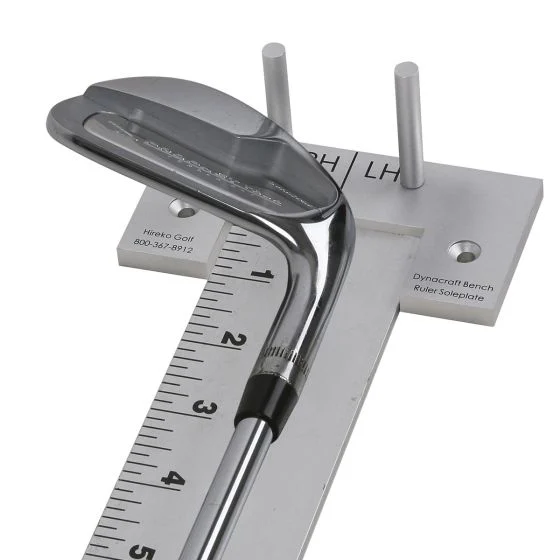
Guides The Perfect Fit: how to measure the length of a golf club ByLee M June 25, 2023February 15, 2024 Spread the loveSpread the love Key Takeaway: Measuring the length of a golf club is important for club-making techniques and…
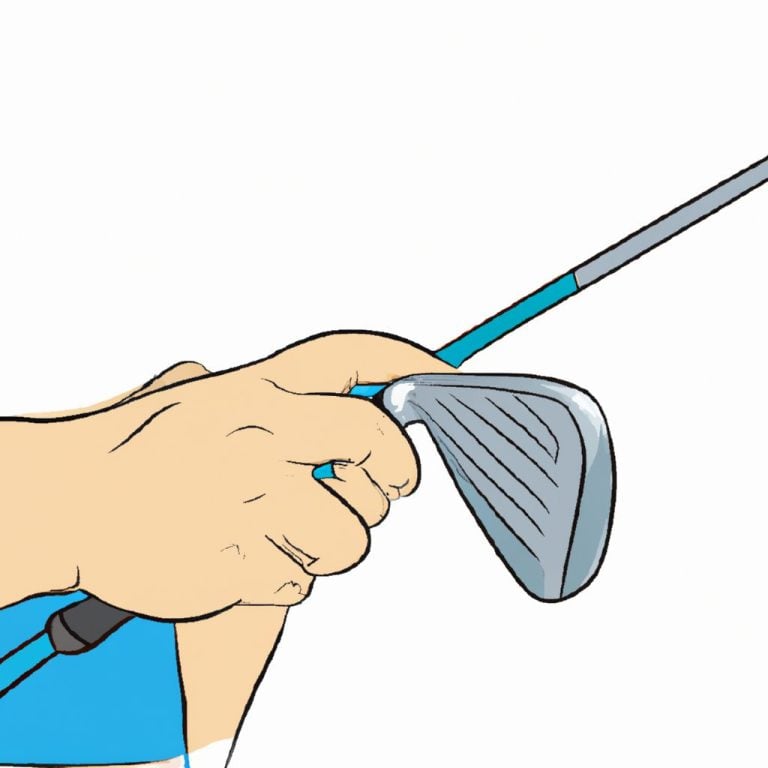
Guides Mastering the Grip: How to Hold a Golf Club Right-Handed for Maximum Performance ByLee M July 2, 2023February 14, 2024 Spread the loveSpread the love Key Takeaway: A proper grip in golf is crucial for consistent and accurate shots. There…
Guides how many golf courses on hilton head ByLee M August 9, 2023February 18, 2024 Spread the loveSpread the love
Guides How many dimples on a golf ball ByLee M June 26, 2023August 22, 2023 Spread the loveSpread the love Key takeaway: The dimples on a golf ball are important for maximizing performance and distance….